CDC Biot Spinner
by Ken Collins - May 02, 2007

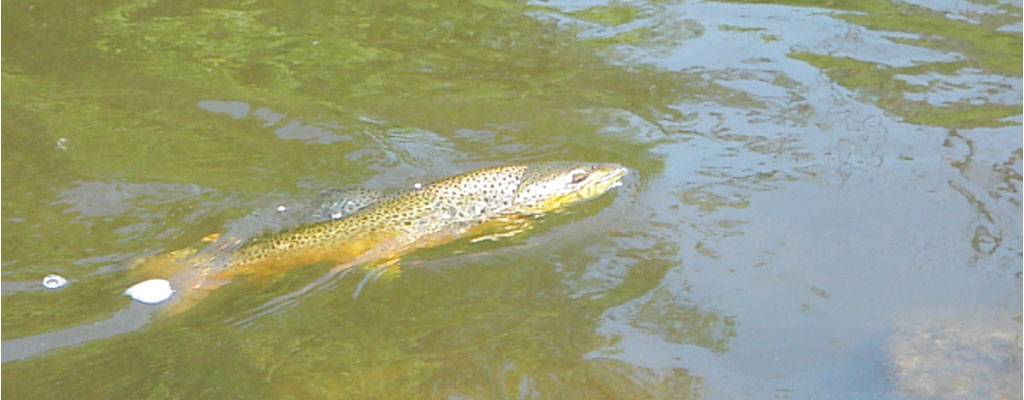
Mayfly hatches are so much fun for dry fly enthusiasts. These generally larger insects attract even the smartest, wily old trout to the surface. The life cycle of the mayfly is exciting to watch also. For days prior and during the actual mayfly hatch of the time – the mature nymphs are moving around a great deal in fact sometimes to great distances from where they grew up (called biological drift). Fish of the river get to know real quick something big is about to happen. Now take the emerging duns and the various stages of these insects trying to escape their watery prisons that fish key into. Wow just how picky can a trout get – you won’t believe me even if I told you.

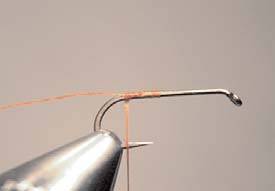
But now the easy part of the process - the returning last flight of the mayfly.  This part of the mayfly life cycle usually occurs in the evening when the daytime light is dwindling.  The fish can’t see as well and are much easier to fool. This CDC spinner is an excellent imitation of this awesome stage of the mayfly.  There are countless spinner patterns available. I choose this biot body construction for the one reason - of dubbed patterns expand when wet.  This increased diameter can be noted by the fish a lot easier then say a colour. I have experimented many times, many different ways to come to this conclusion and wish your dry fly evenings simular successes.  

CDC Biot Spinner Steps

Tying thread to hook
1. Attach thread securely to hook shank and move thread to bend of hook.

Tying tails and egg sac
2. Prepare thread (proper dubbing wax is done with a light touch of dubbing stick on thread – too much dubbing wax is bad news). Now make a very fine dubbing strand with a wispy amount of yellow superfine dubbing. Wrap this strand on hook at bend and make a small ball of dubbing to imitate female spinners egg sack. NOW Tie in right behind egg sack a half a dozen fibers of micro fibbets. They should extend about one and a half hook lengths beyond the tie in point.

Tying biot body
3. Then tie in the biot by the tip. The solid part of the biot (versus the translucent part) should be facing upwards. Place a drop of head cement on the hook shank and then wrap the biot forward to create the abdomen. Tie off at trim. This segmented body of the biot is slim and imitates the natural very well.

Tying wing parts
4. Select two full CDC feathers - tie them in facing forwards point about two hook eye widths back from the front of the eye of hook. They should not extend past the eye of the hook any further than the hook shanks length. Now tie in small clump of Krystal Organza fibres and strand of poly yarn at same point. Try to keep the strands at the same length as the CDC plume tips.

Wing separation
5. Using figure 8 wraps take one feather out to each side of the fly along with about half the strands of Krystal Organza and split the poly yarn in half also. Each side of wing should now extend at right angles from the hook shank.

Dubbing thorax
6. Prepare another thin dubbing strand using superfine dry fly dubbing. Once again, by figure 8 wraps build a slim accenting coloured thorax. This dubbing section beefs up the thorax region of fly and helps keep the wings in place. Along with figure 8 wraps, make sure to wrap dubbing both behind wings and in front – this helps concentrate and stiffen wing posts. Tie off the thread and then trim the wings so they are even.

Tying off and trimming
7. Tie off the thread and then trim the wings so they are even.

< Back to Instructions

Dry Flies Fly-Tying

Foam Hex
Pacific Fly Pattern - January 09, 2009

Usual Emerger
Steve May - May 01, 1997